Pro AI Try-On Guidance: Get Perfect Results
Master the AI Try-On Workbench in minutes. Start with our 3-step guide, ensuring you get a perfect result every time.
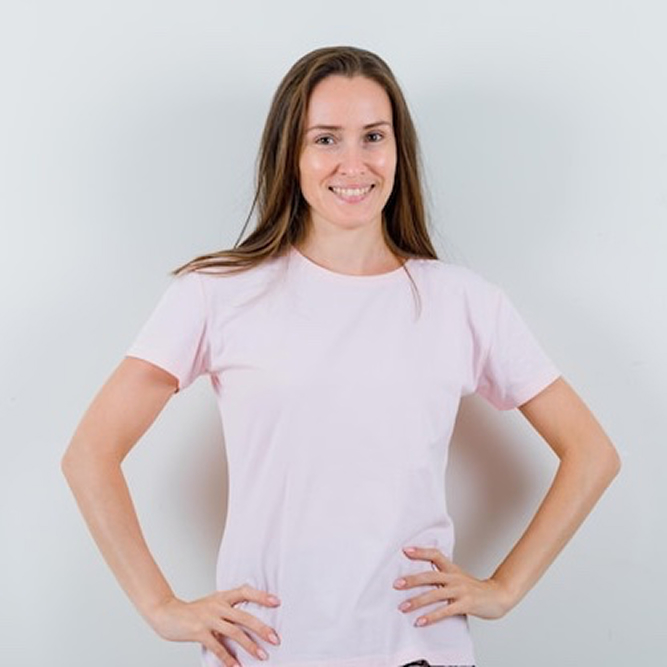
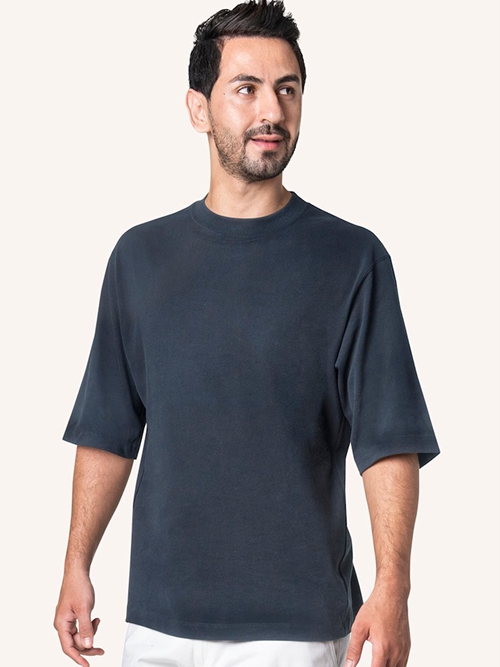
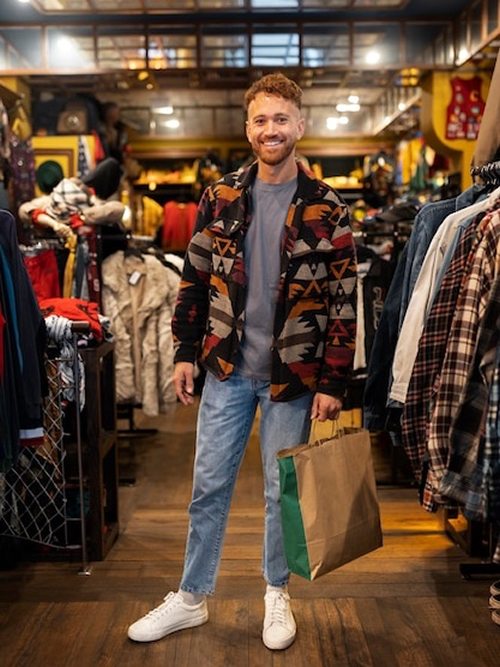
(1) Upload Model Photo
Upload a photo of your model in the "Upload model photo" box on the left, or click "Sample fashion model" to start.
(2) Upload Garment Photo
Upload a photo of your garment in the "Upload garment photo" box. A flat-lay photo with a clean background works best.
(3) Write Your Prompt
This is the most important step. Write a clear command like "Put the shirt on the model" or "Dress model in Image 1 with clothes from Image 2".
No inspiration? Try our examples!
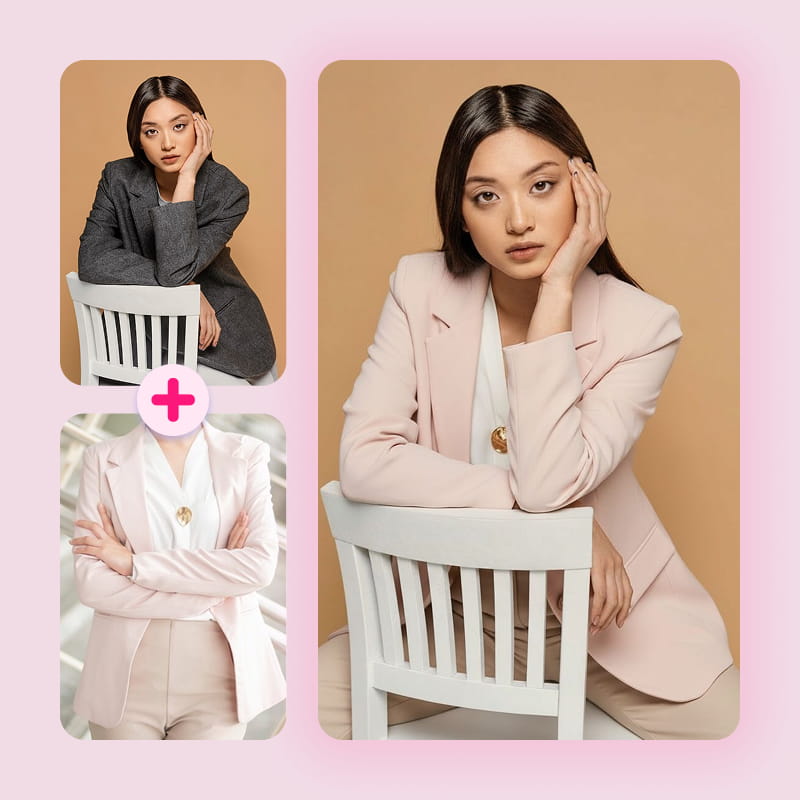
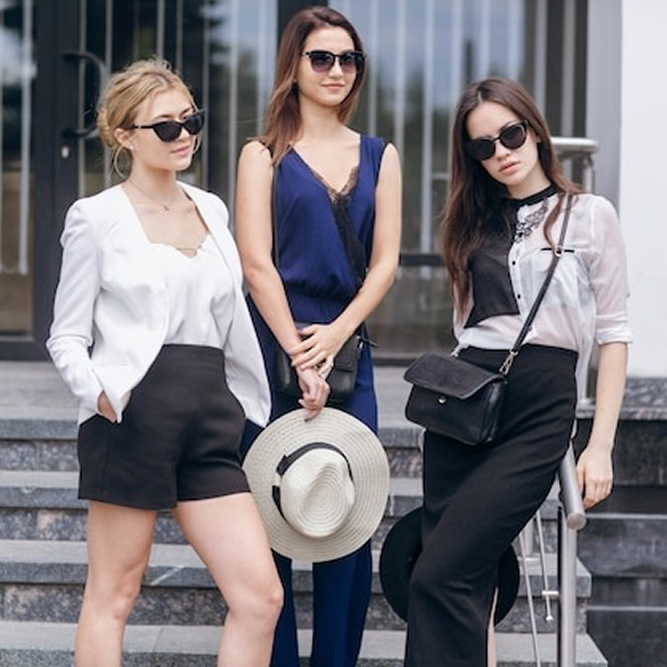
Swap to a Blazer
Prompt: Please the woman model in Image 2's outfit.
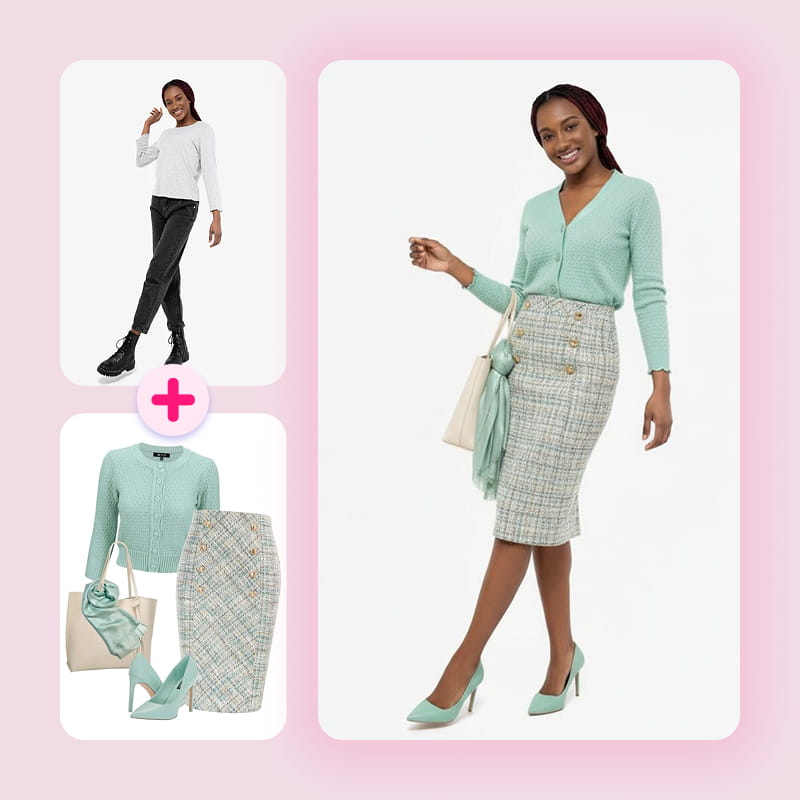
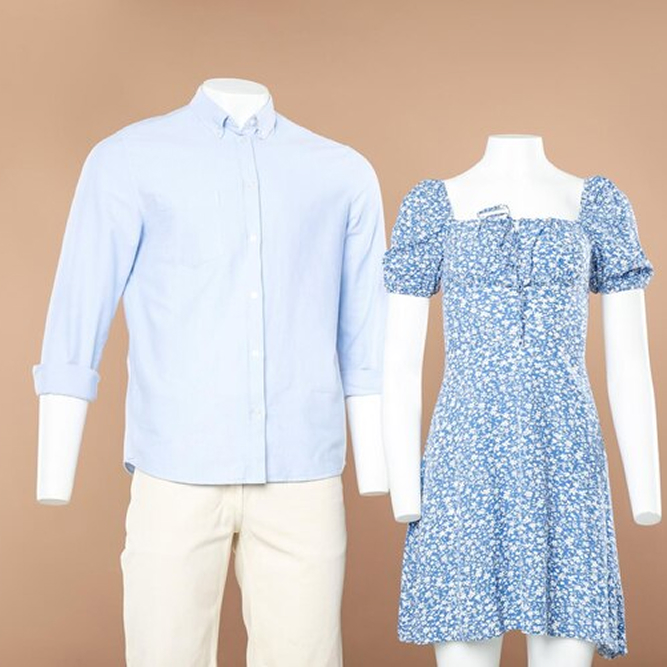
Change to a Full Outfit
Prompt: Please dress the model in Image 1 in all the clothing and accessories from Image 2.
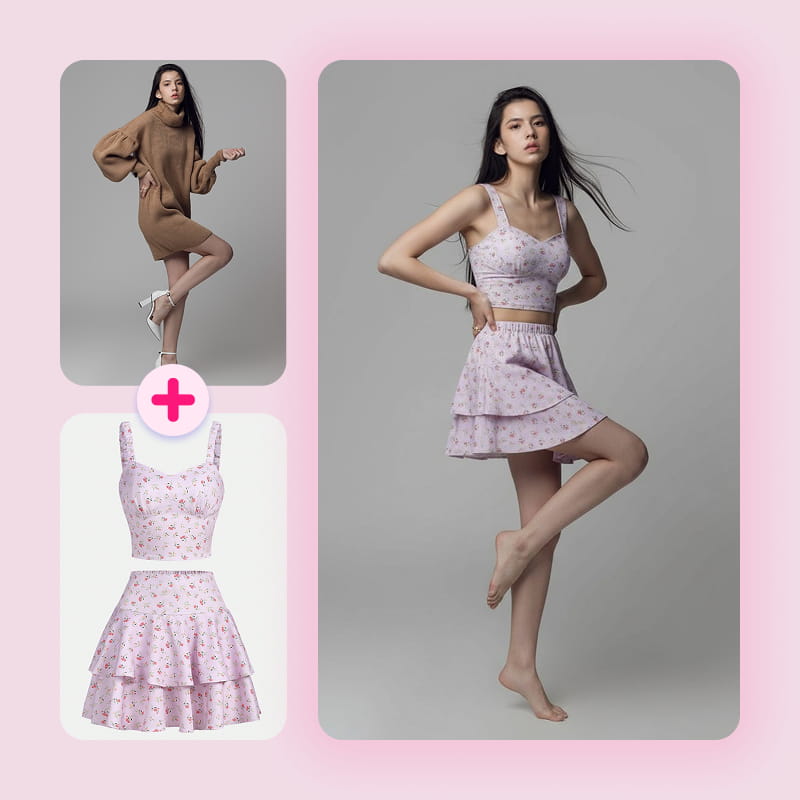
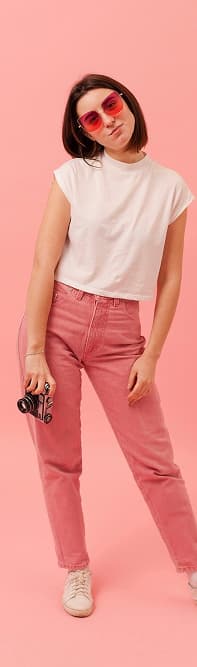
Try On a Two-Piece Set
Prompt: Please dress the woman model in Image 2's outfit. Remove other garments
✍️ Magic Prompt Guide
A simple prompt is the key to a perfect result. Here’s how to write one.
Be Direct and Clear
Your prompt is the most important instruction for the AI. Avoid conversational fluff (like "please" or "thank you") and give a direct command. The AI understands simple, clear requests best. Good Example: "Put the yellow shirt on the model" or "Put this hoodie on the man."
Use "Image 1" and "Image 2"
The AI is trained to understand context. "Image 1" refers to the Model photo, and "Image 2" refers to the Garment photo. You can use this for complex commands or to be extremely specific. Good Example: "Please dress the model in Image 1 in the denim shorts and shoes from Image 2."
Iterate and Tweak
AI generation has a random element. If the first result isn't perfect, your best first step is to click 'Generate' again. If it's still not right, try tweaking the 'variable' words in your prompt. Tweak Example: Change "Put on the shirt" to "Dress the model in the shirt".
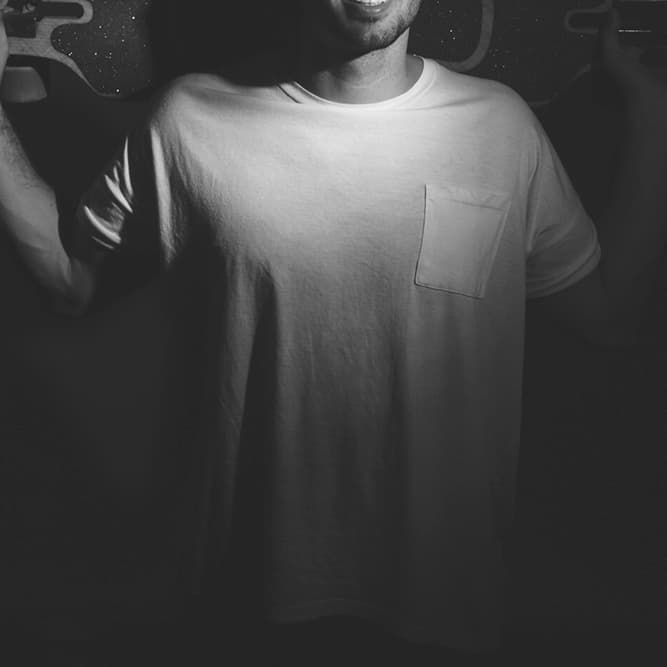
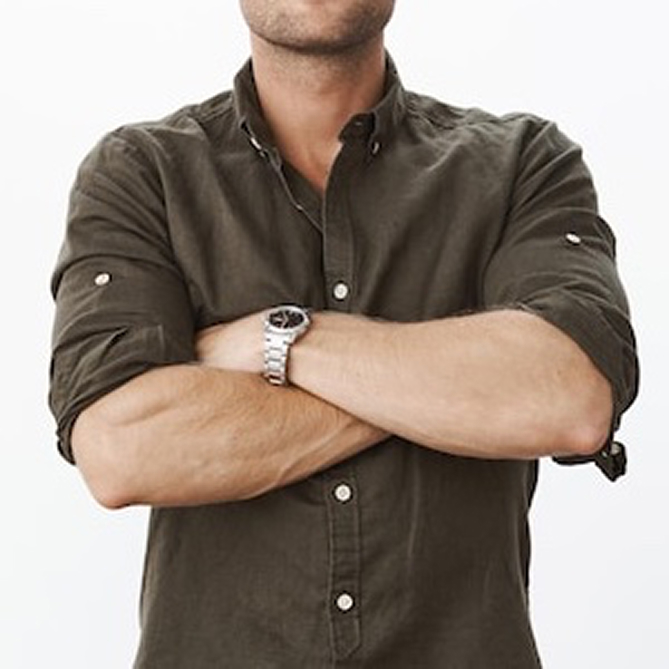
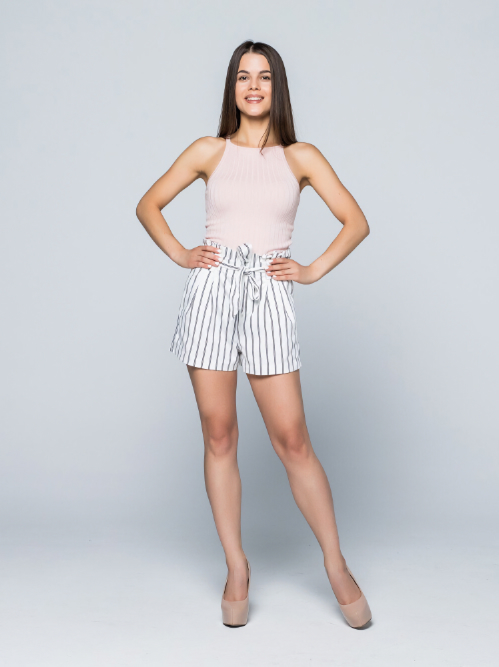
Model Photo Recommendations
- For best results, use a clear, front-facing photo. Our AI can also handle slight angles, but front-facing is ideal.
- Good, even lighting will produce a more realistic result.
- A single person with a simple background is recommended. Busy backgrounds or multiple people may confuse the AI.
- Pro-Tip: You can use our AI Fashion Model Generator to create ideal, high-quality models.
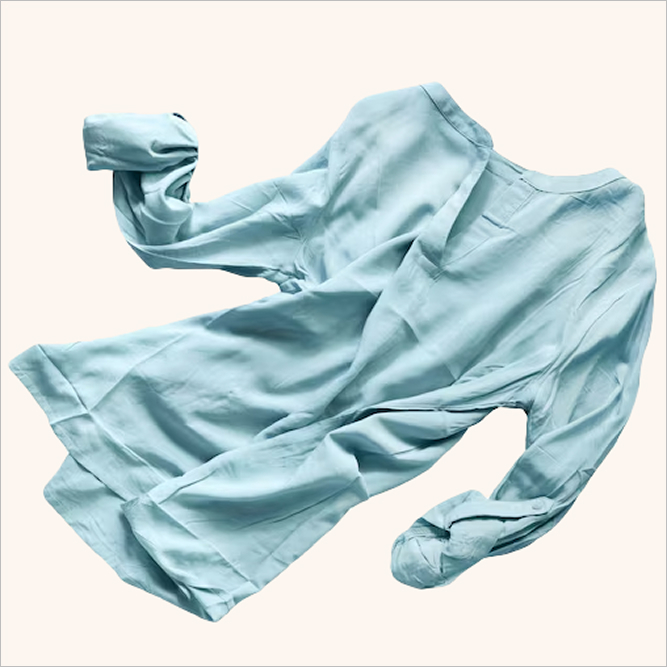
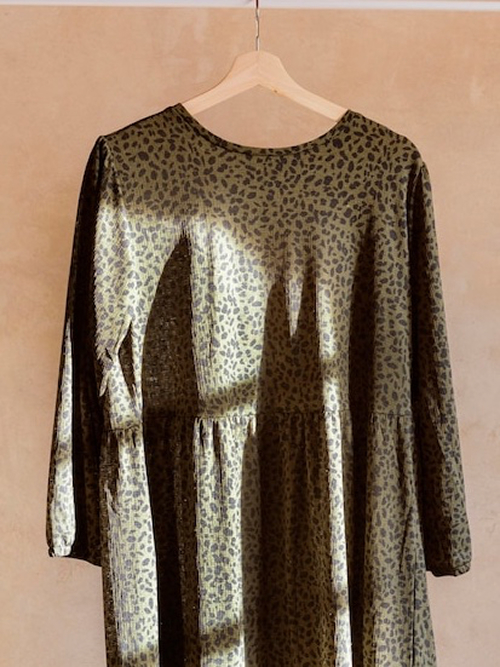
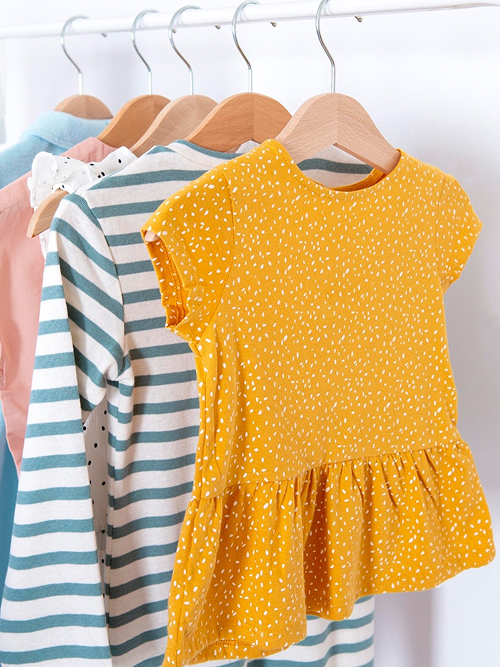
Clothing Photo Recommendations
- A flat-lay, clean photo of the garment works best. Mannequin or worn photos can also work, but flat-lay is recommended.
- A simple, non-cluttered background helps the AI focus on the clothing.
- Ensure the garment is well-lit so the AI can see its details, texture, and color accurately.
- Try to use photos without excessive wrinkles, as they may be recreated in the final try-on.


💡 Pro-Tips of Virtual Try-on
High-Quality Inputs
Model: Use simple poses, front-facing, no occlusions (e.g., arms not crossed).
Garment: Use flat-lay, clean background, no wrinkles.
Match Poses
If the model is side-on but the garment is front-on, the AI might get confused. Try to use matching poses.
Complex Garments
For difficult items like gowns or heavy coats, the AI may need more context. Using a prompt that describes the garment (e.g., "Put on the long velvet dress") can help guide the result.
One Item at a Time
The AI works best when swapping one primary garment (like a shirt, dress, or jacket). Trying to swap a full outfit *and* shoes *and* a hat all at once may produce mixed results.