 step 1
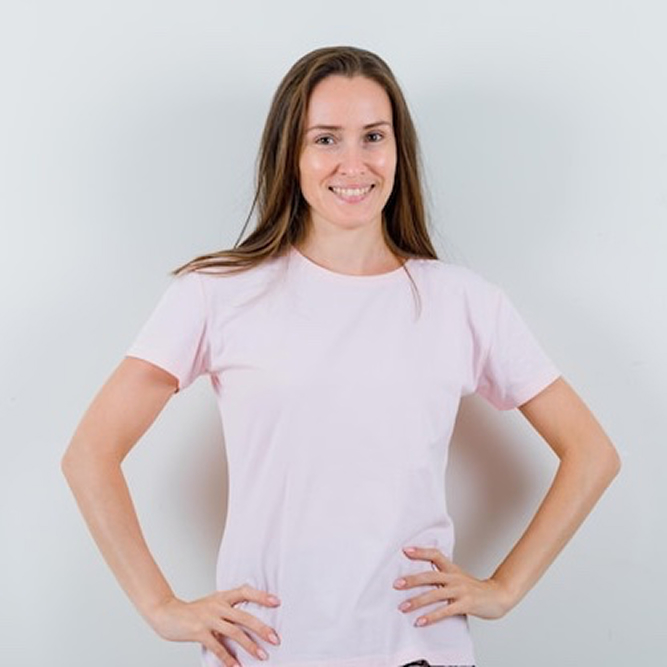
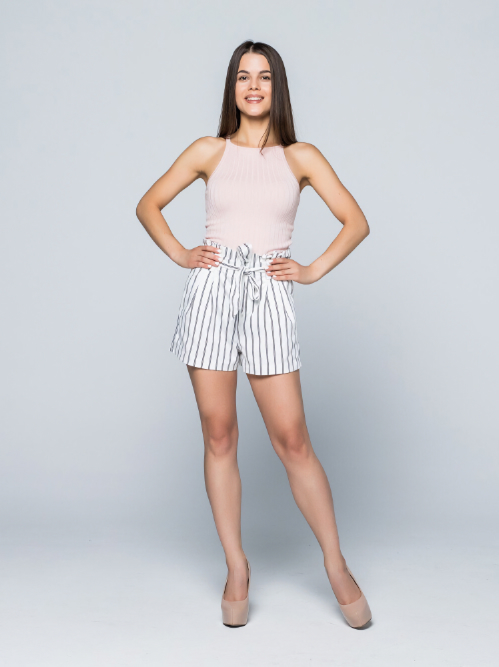
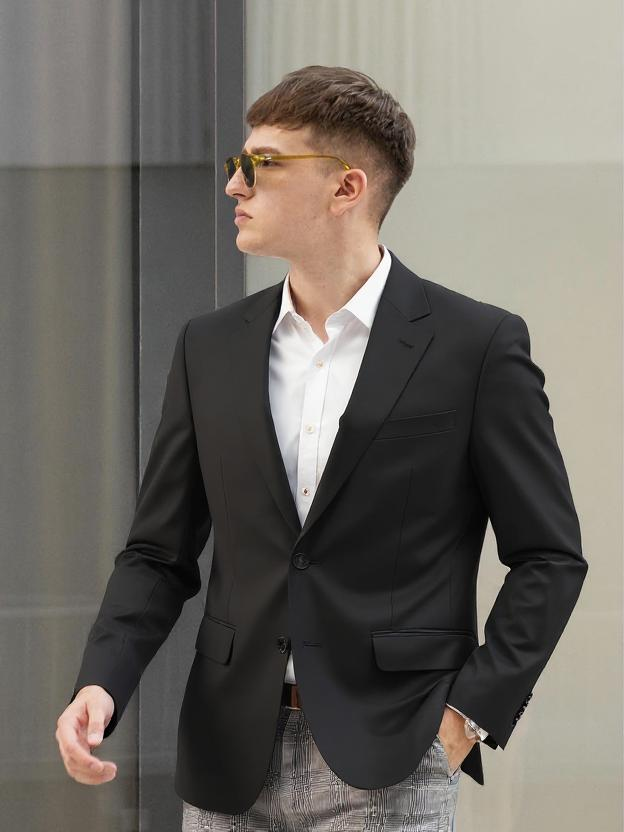
Загрузите Фото Модели
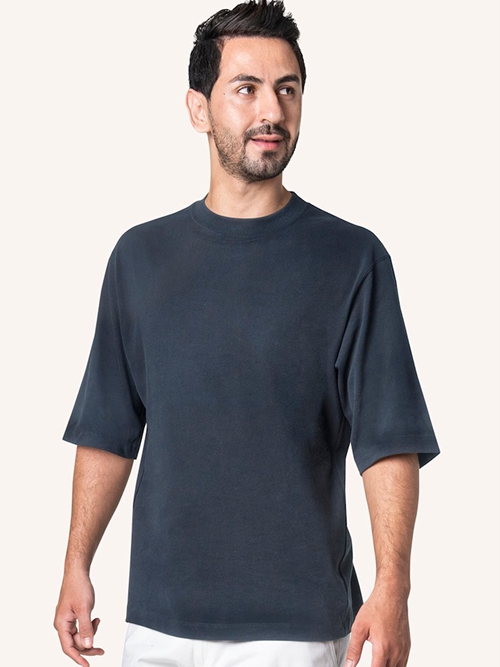
Начните с загрузки четкого фото вашей модели анфас. Простая поза и простой фон работают лучше всего.
 step 2
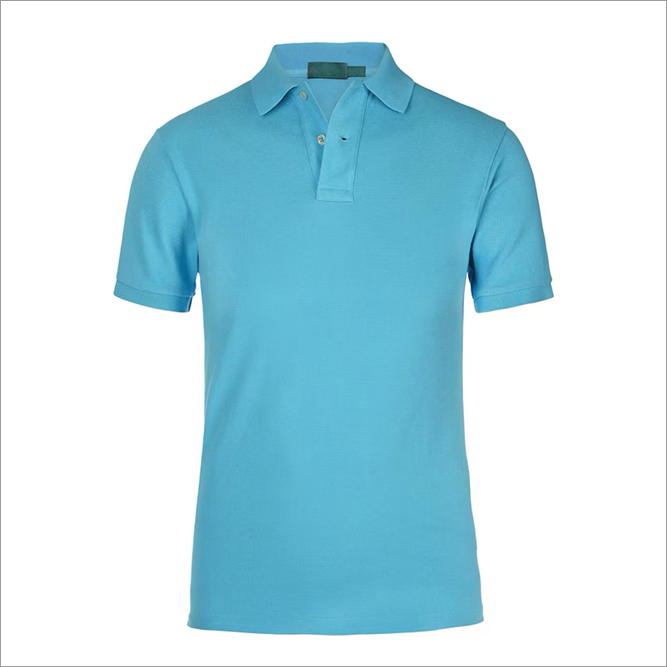
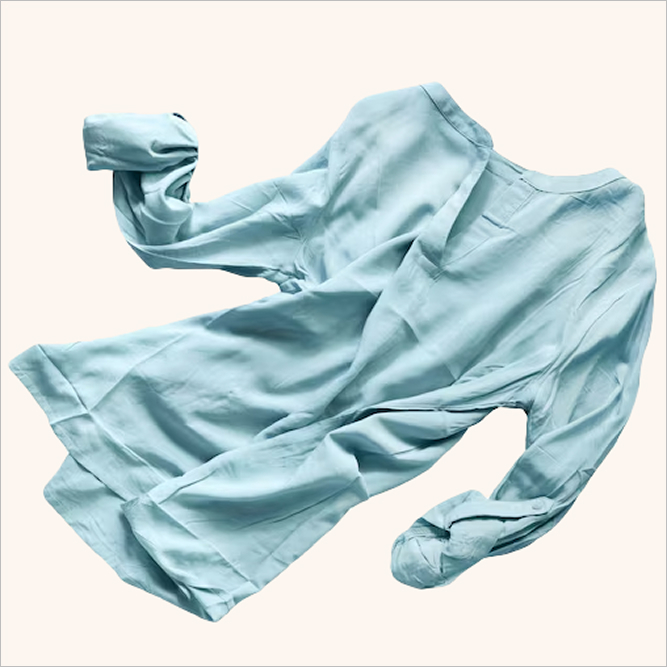
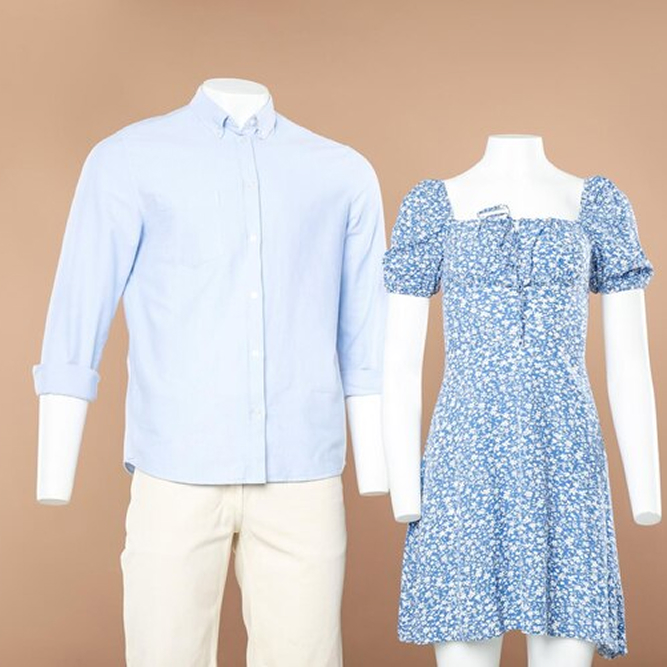
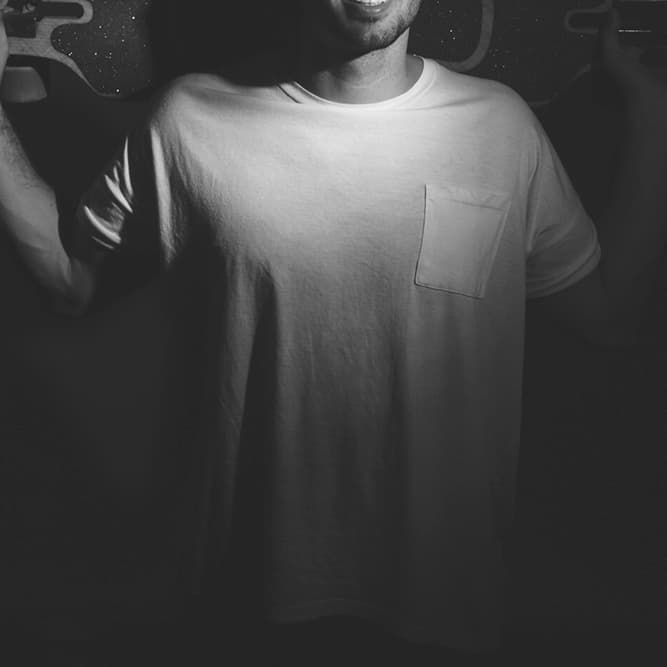
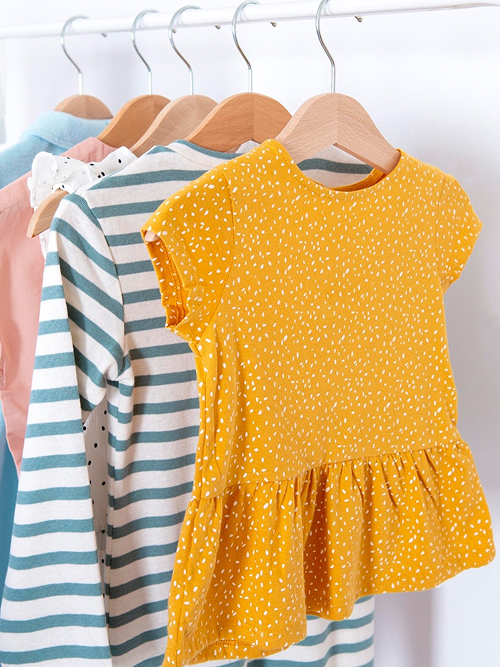
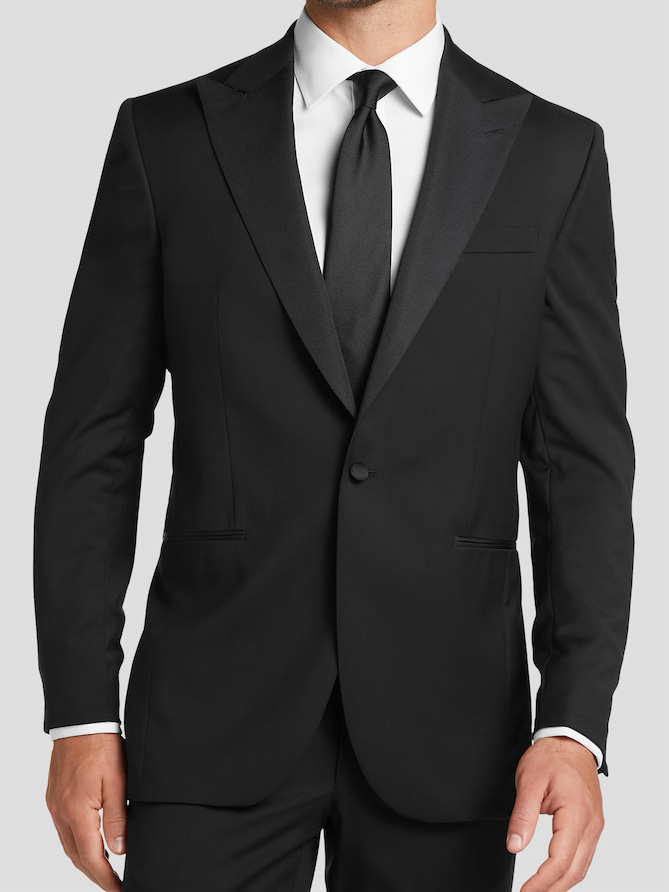
Загрузите Фото Одежды
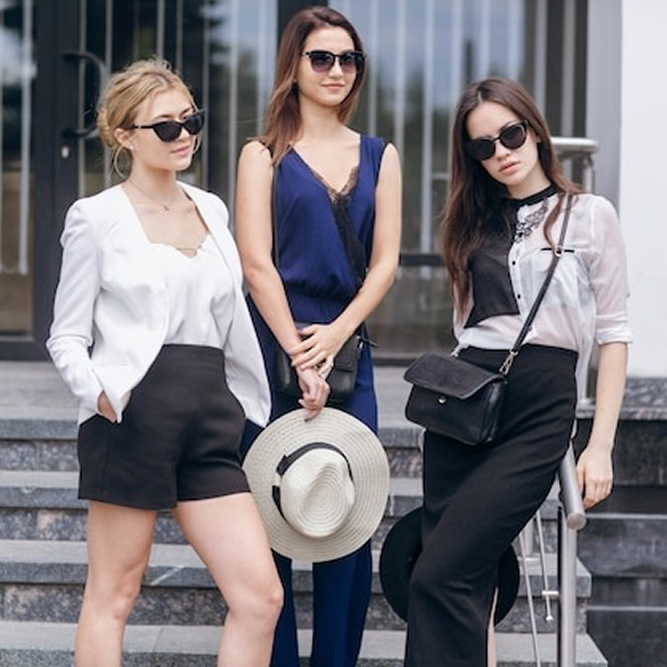
Загрузите чистое фото одежды. Фото на плоской поверхности (flat-lay) обеспечивают наиболее точные результаты.
 step 3
Напишите Ваш Промпт
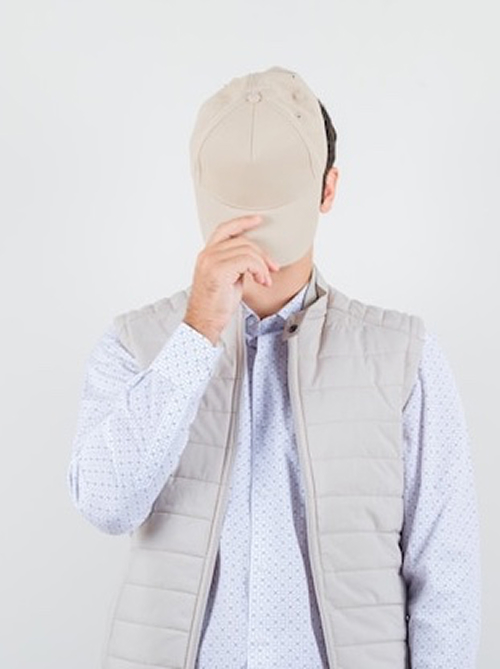
Это ключевой шаг. Напишите четкую команду, например, "Надень рубашку на модель" или "Одень модель с Изображения 1 в одежду с Изображения 2".
 step 4
Нажмите для Генерации
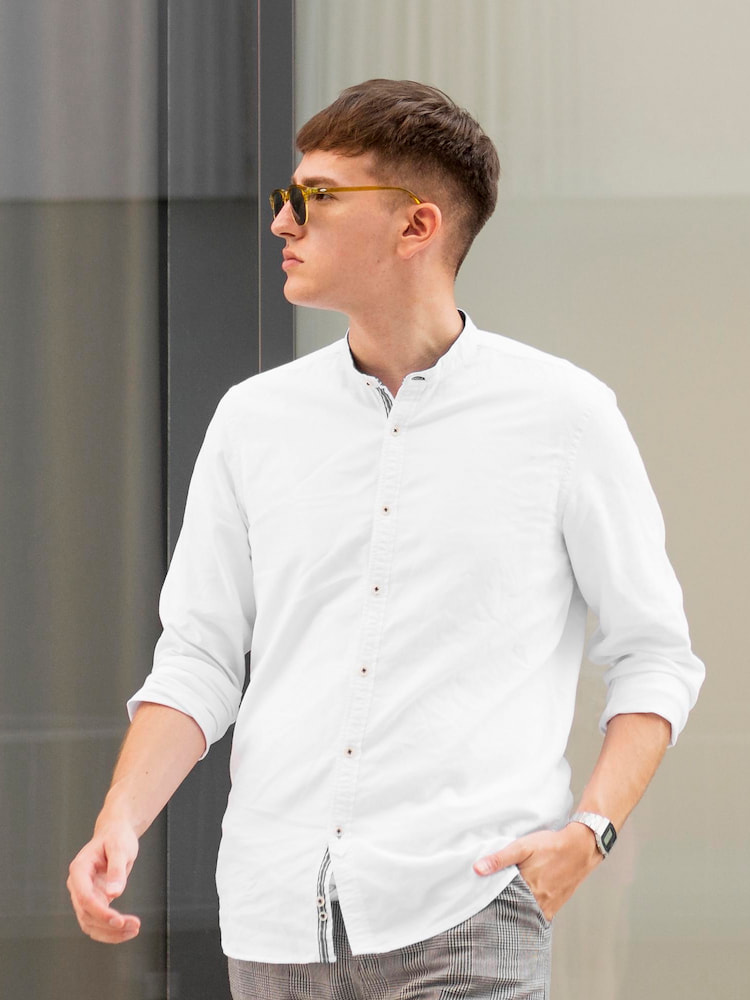
Нажмите 'Сгенерировать' и позвольте ИИ создать вашу реалистичную виртуальную примерку. Если вы не удовлетворены, нажмите 'Сгенерировать' еще раз или измените ваш промпт.